How To Troubleshoot a Lawn Mower That Won’t Throttle Up
Have you ever experienced a situation where you noticed that the throttle seemed to be stuck in one particular position, and you could not throttle up or down your lawn mower engine speed? If yes, you must have wondered whether it is possible to troubleshoot such a failure and if possible, how to troubleshoot a lawn mower throttle issue?
First, remove the top Shroud cover, Primer line and Fuel line. Then, remove the Air filter, Carburetor and Throttle control parts. Next, install the new plastic part, reinstall the carburetor and other rest of the parts.
Read the following article and learn to troubleshoot a lawn mower that won’t throttle up.
What Causes the Problem?
Throttle failure mostly occurs due to problems with the carburetor, faulty air filter, or throttle control parts such as the internal plastic element, rod, or cable.
The lawn mower will fail to throttle up and down properly if the throttle is stuck in between or the engine is not receiving the correct fuel mixture to start up.
In most cases, this trouble can be easily solved by cleaning, lubrication, and performing minor adjustments to the throttle cable.
But make sure you have found the actual issue which causes your lawn mower to encounter such trouble.
6 Steps to troubleshoot a lawn mower won’t throttle up:
Imagine you are middle of mowing your lawn or work field, and suddenly, you noticed that the mower just went on running half throttle, then visibly surges when you tried to run it on full throttle.
Or, you could not move your mower’s throttle up or down.
Aren’t these circumstances annoying?
All you need is a quick way to troubleshoot and break into your mower throttle system to fix it immediately.
Things required to troubleshoot the lawn mower won’t throttle up:
Look at the checklist of the required tools and materials:
| Tools | Materials |
| larger Phillips screwdriver | Plastic part replacement kit |
| Flat Screwdriver | |
| Liquid Wrench | |
| Rag | |
| Safety Goggles & Gloves |
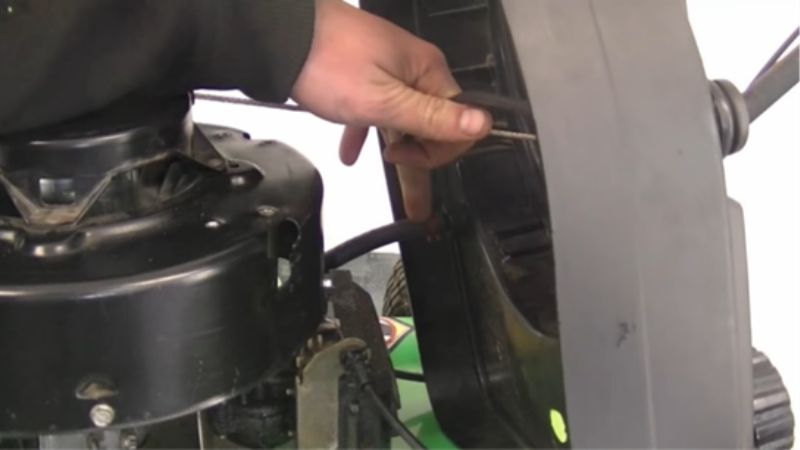
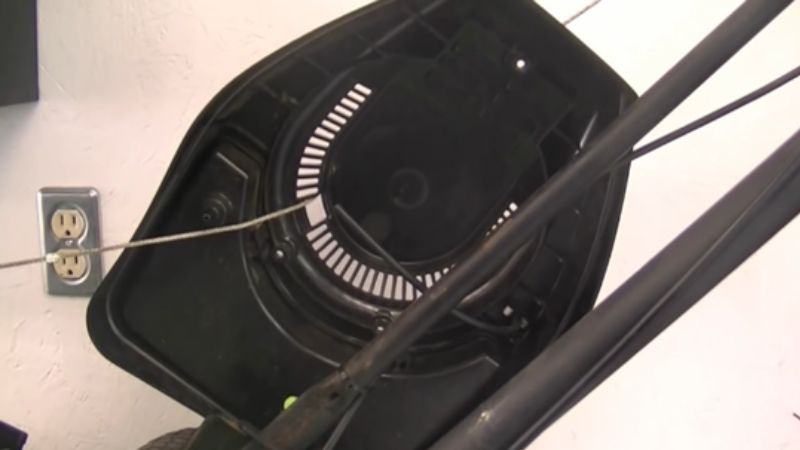
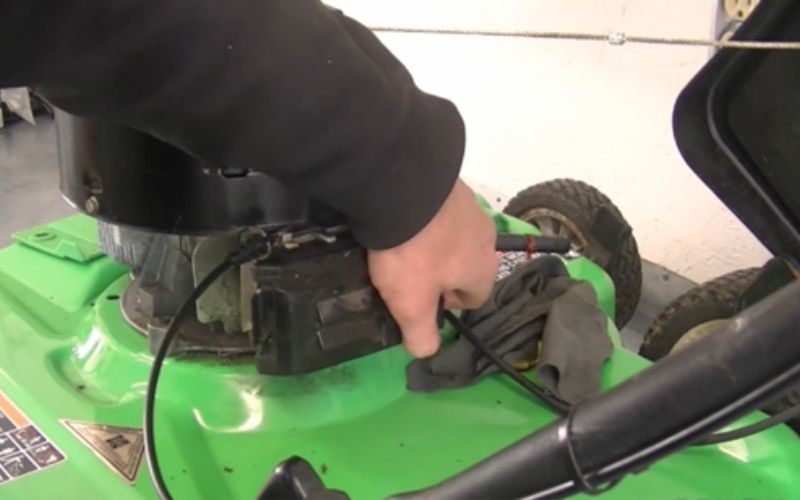
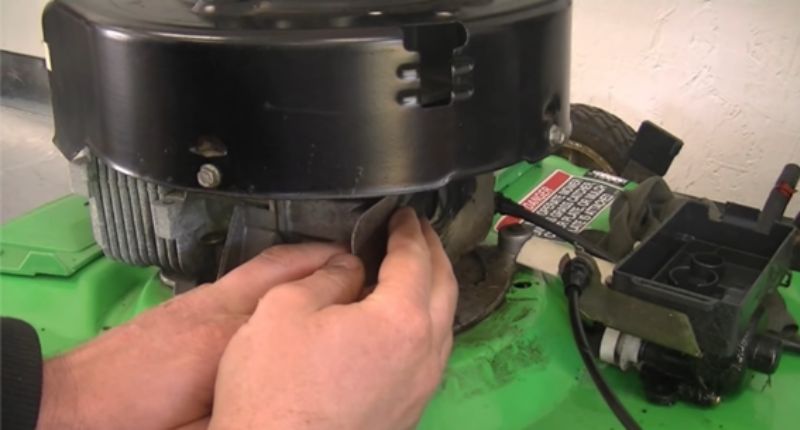
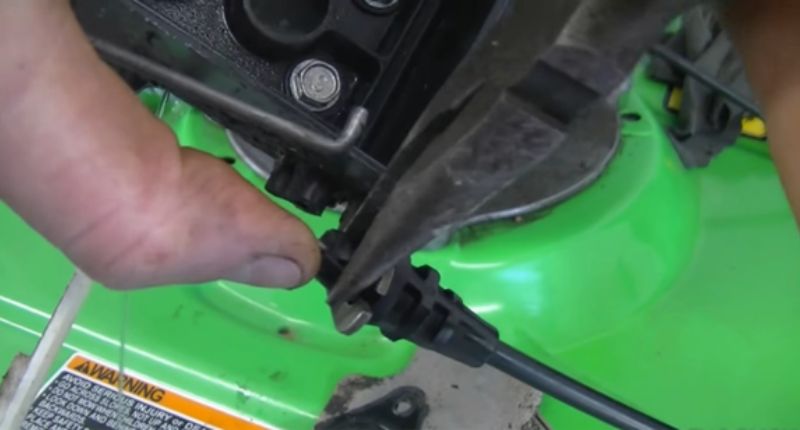
Step 1- Removing the Top Shroud Cover:
First, remove the three Torx screws on top of the Shroud cover.
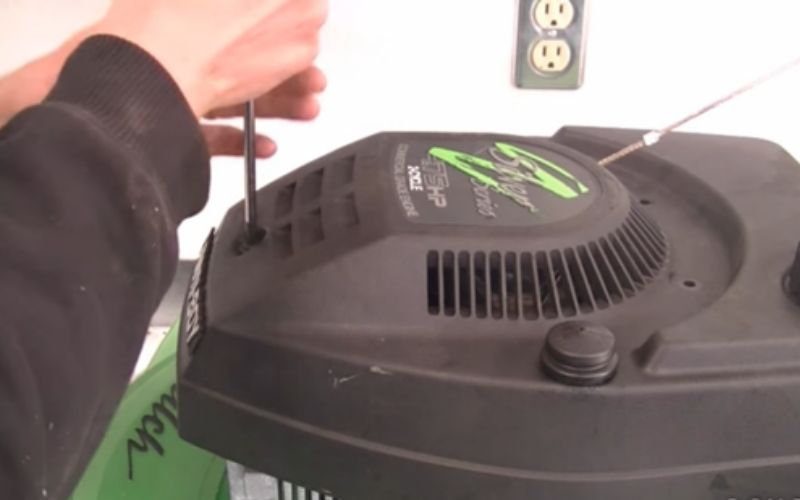
Now that both screws are off at the back, you just have one left in the front end. So, remove the screw, and the cover will come off.
Tips: while removing the top shroud cover, you have to pry up a bit and be careful because the fuel line and the primer are still hooked up to the carburetor.
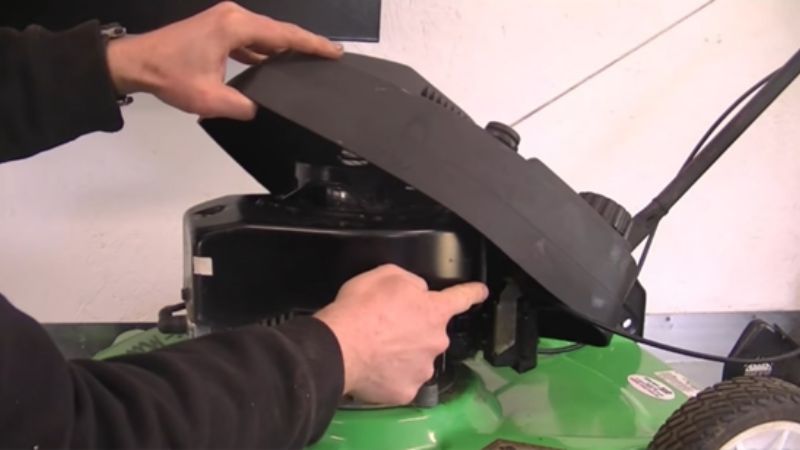
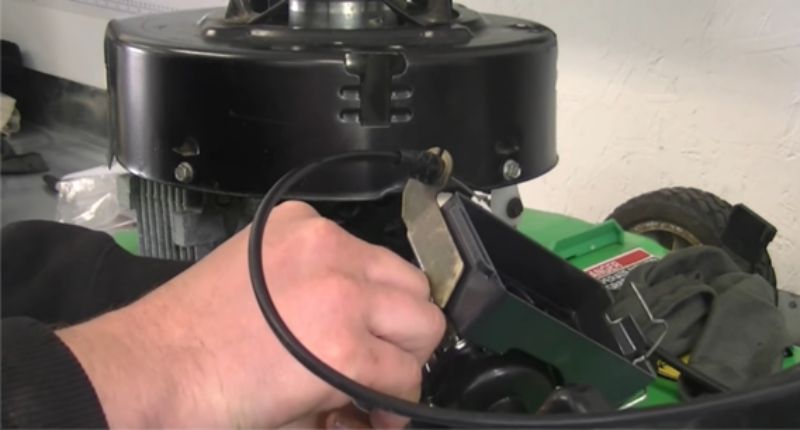
Step 2- Remove the Primer line and Fuel line:
Next, you need to disconnect the primer line, which is the smaller line out of the tube.
Usually, you can just pull it by hand, and it will come off like this.
Now, lift the cover, and you can see the fuel line on the other side.
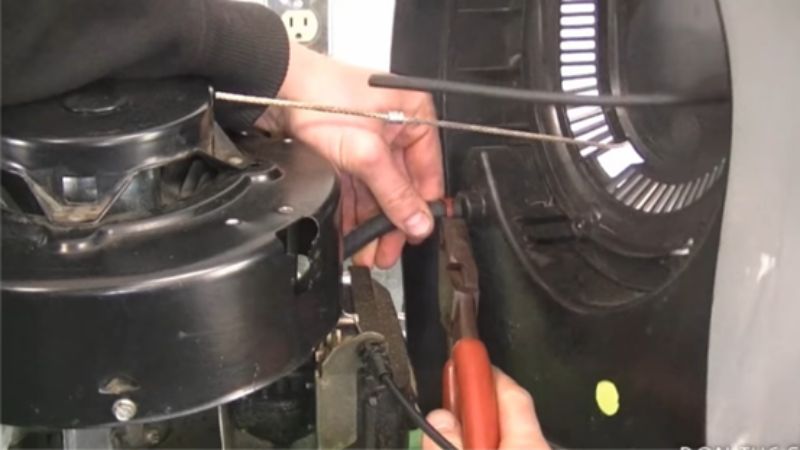
So, loosen the fuel clamp and remove the show line from the gas tank.
Tips: You should empty your fuel tank before doing this removal task to prevent any leaking issue.
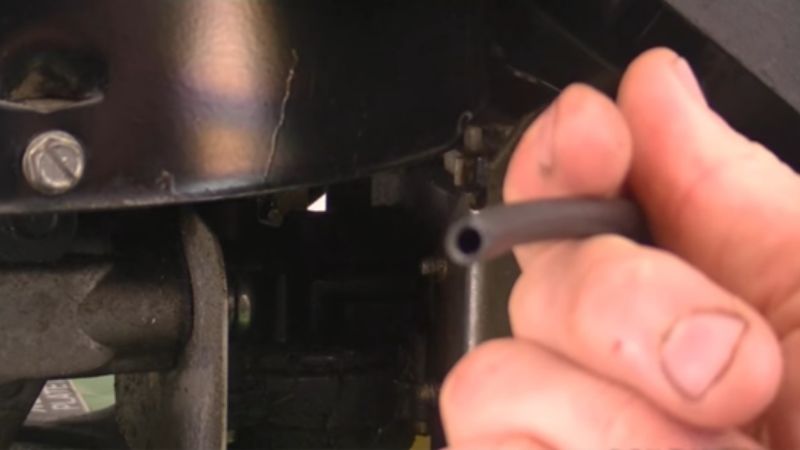
To prevent fuel from leaking out of the connector, keep the fuel tank tilted as shown in the image.
Then, pull off the fuel line.
And leave the Cal to hang on the side as shown in the picture. Next, you might see a bit of fuel leak out of the fuel line.
The left-out fuel in the carburetor will come off like that.
Just get a rag to soak that up or leave one underneath while working.
Step 3- Remove the Air Filter and Carburetor:
First, take off the clips with a flat screwdriver to remove the air filter cover.
Now pull it open, and it is going to swivel out.
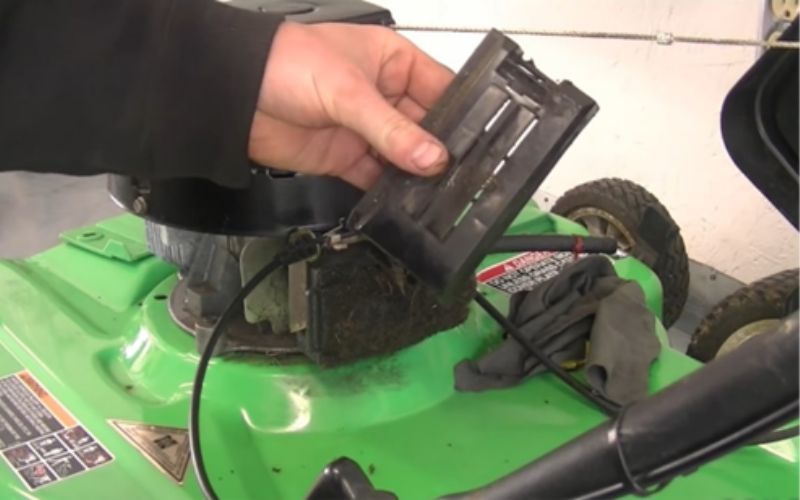
Then, you can take it off completely.
Remove the air filter.
Also, pull out the plastic tab.
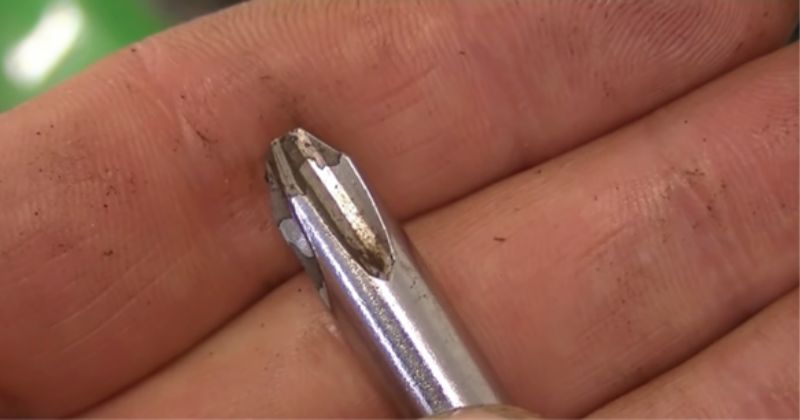
Now grab a larger Phillips screwdriver to number three and reach down inside to remove those two screws, that hold the carburetor in place.

As soon you remove the screws, the carburetor will also come off.
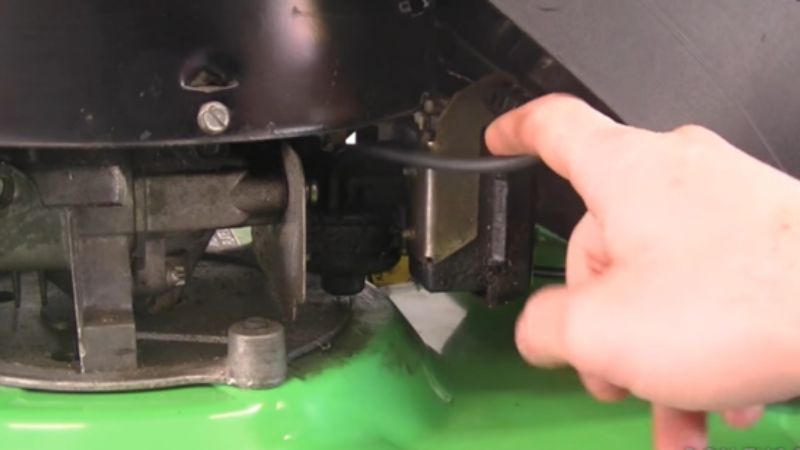
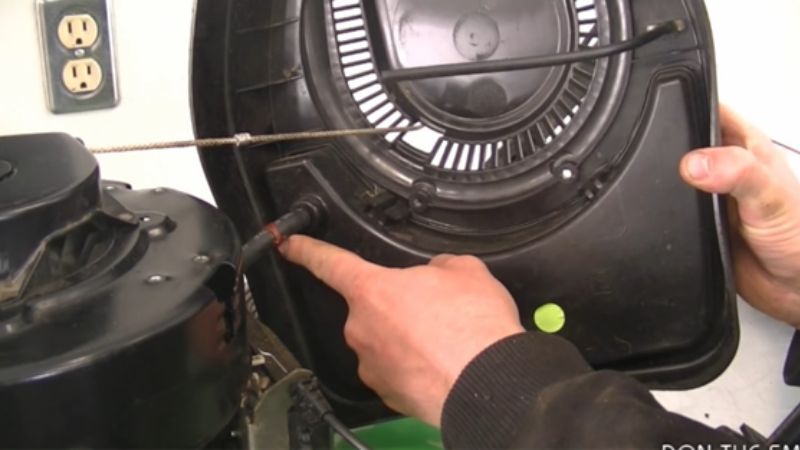
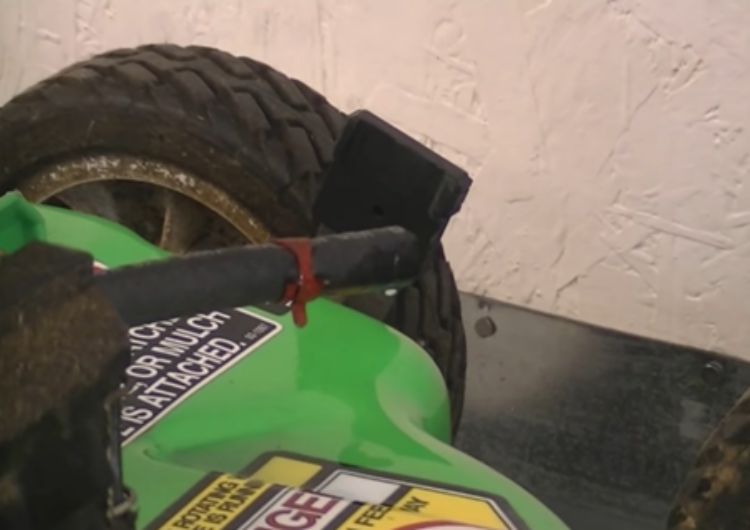
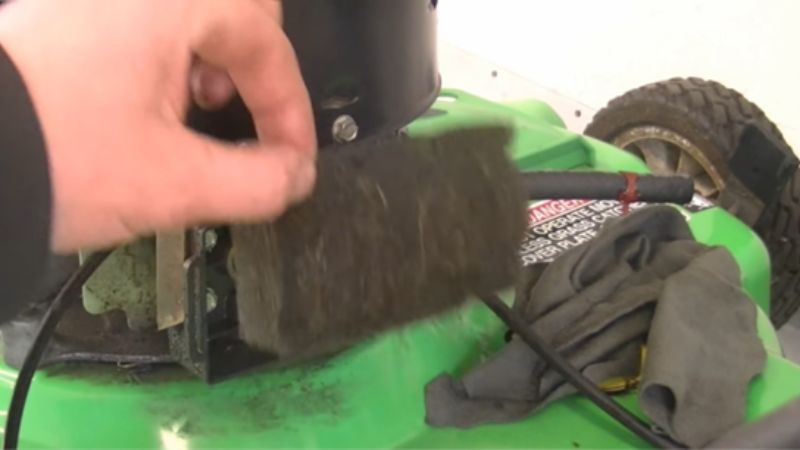
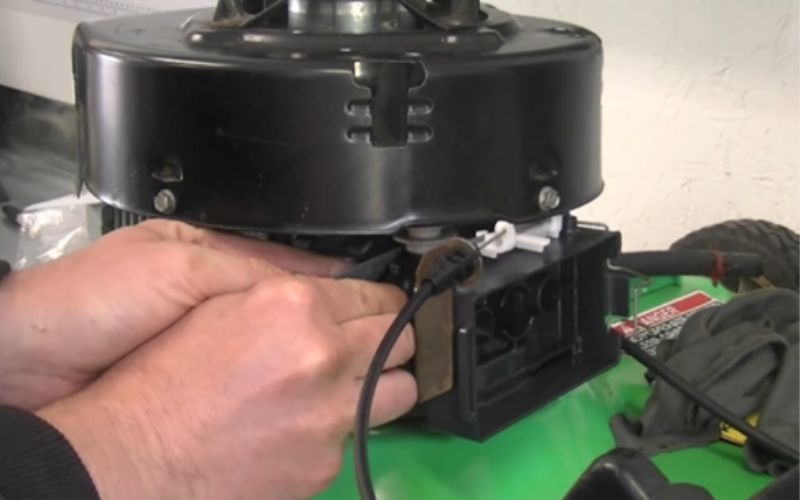
Step 4- Throttle control removal:
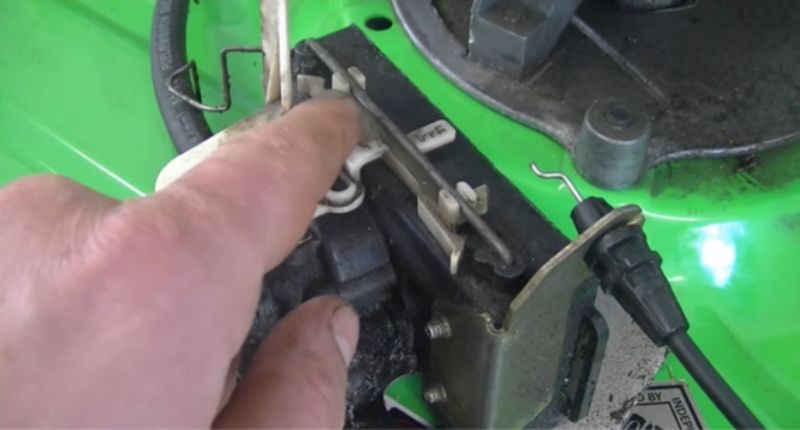
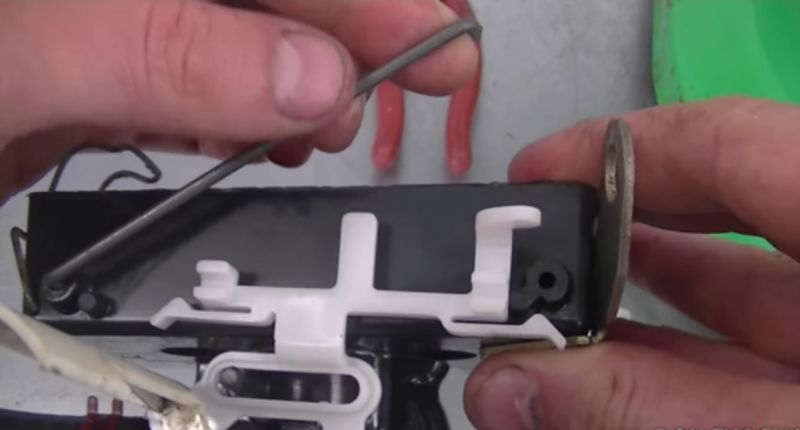
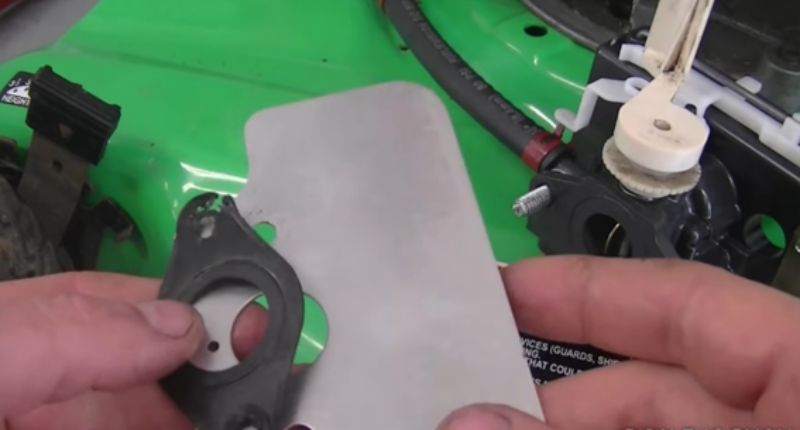
Now, you will see a metal plate and a gasket as shown in the picture.
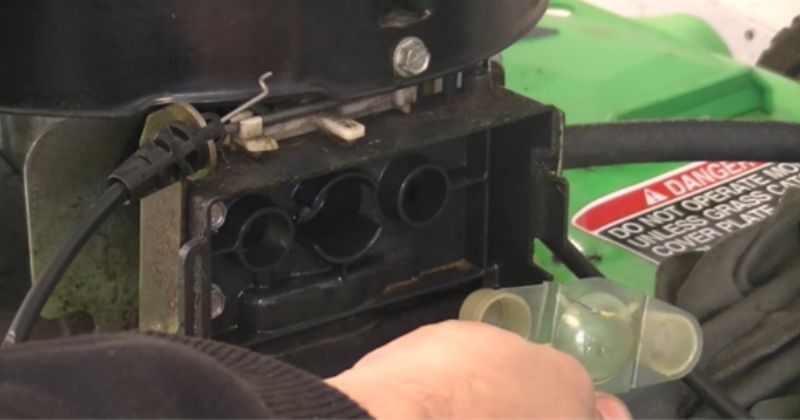
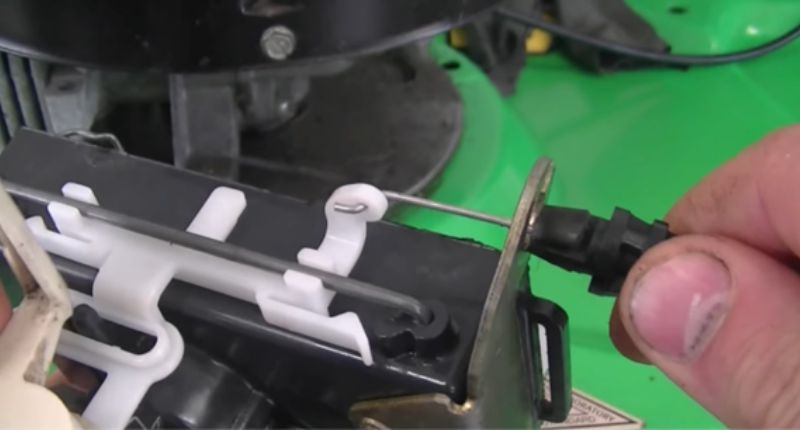
Here’s the throttle cable end, and you can see a broken plastic part over there.
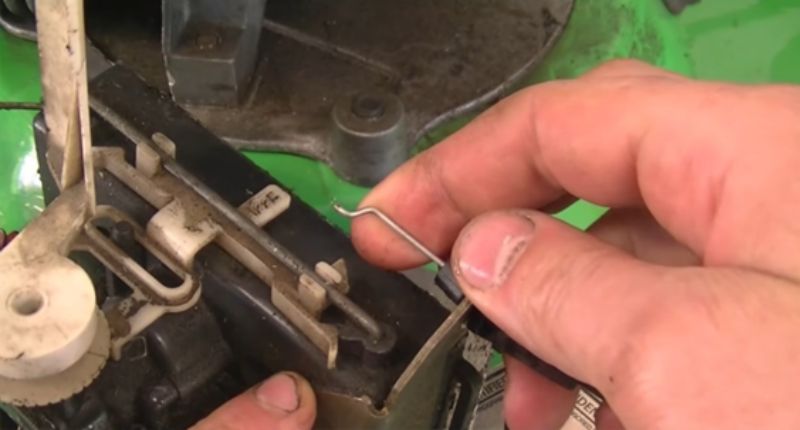
Thus, if you try to grab the throttle cable, you will notice its grabbing on nothing, and it cannot adjust the engine speed.
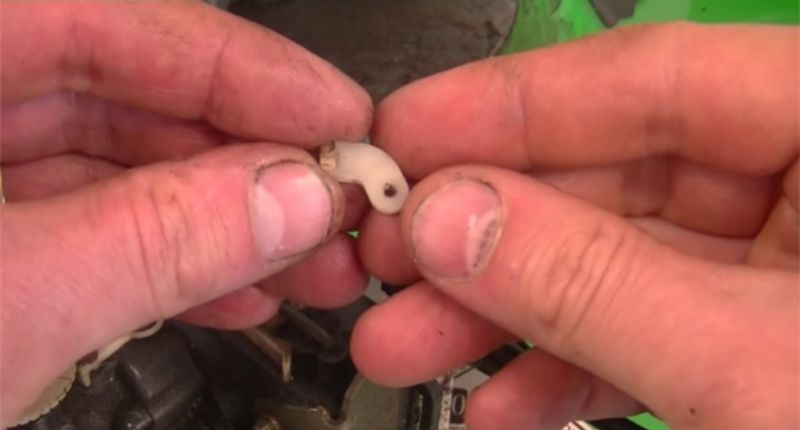
This is the small plastic part that’s missing.
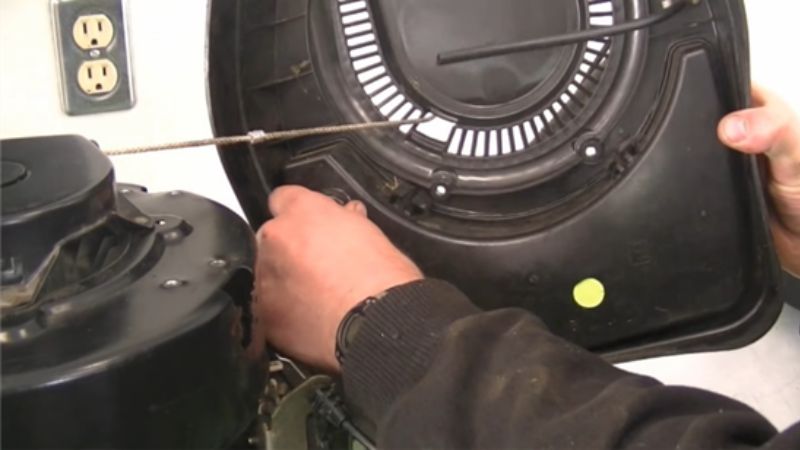
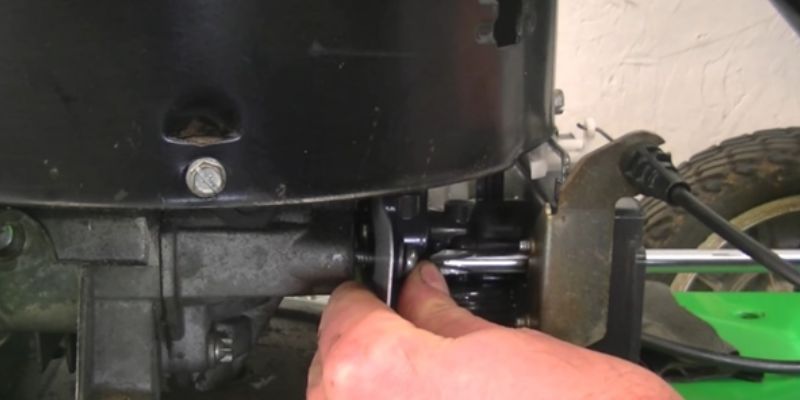
Now take this larger plastic part off.
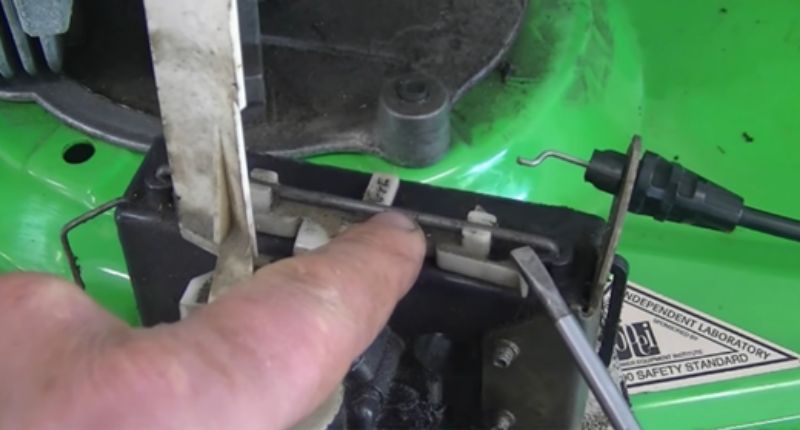
To remove the part, you need to pop out the metal rod, and you need a good flat screwdriver for this task.
Just go under here and pry. Then do the same thing on the other side too.
You can either take the rod all out or take one side out and swing it like this.
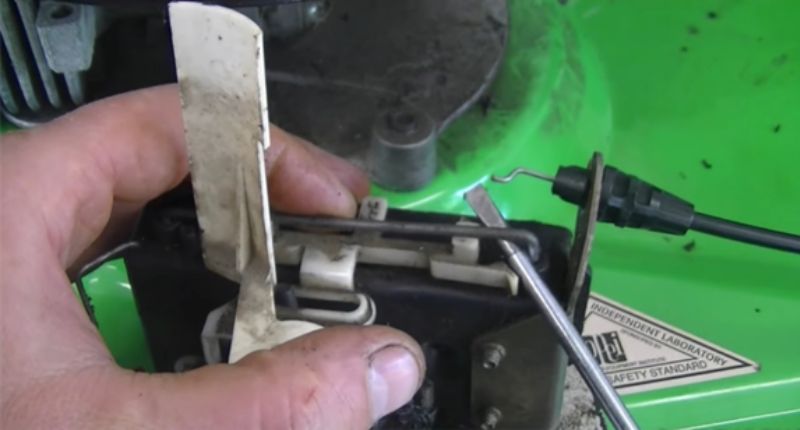
Before completely removing the plastic part, take a good look at the little spring over here and make sure when you re-insert the part, you put the spring exactly in the same position.
Next, pull up and swing the plastic part around to remove it.
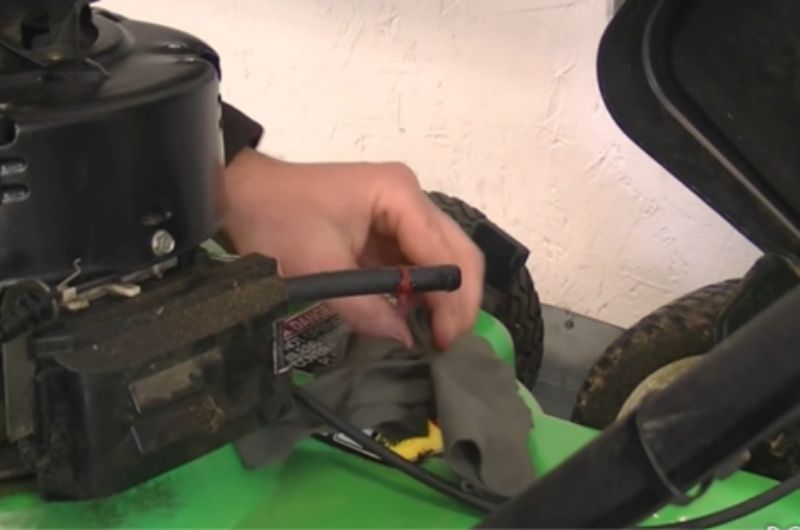
Step 5- Reinstall the Parts:
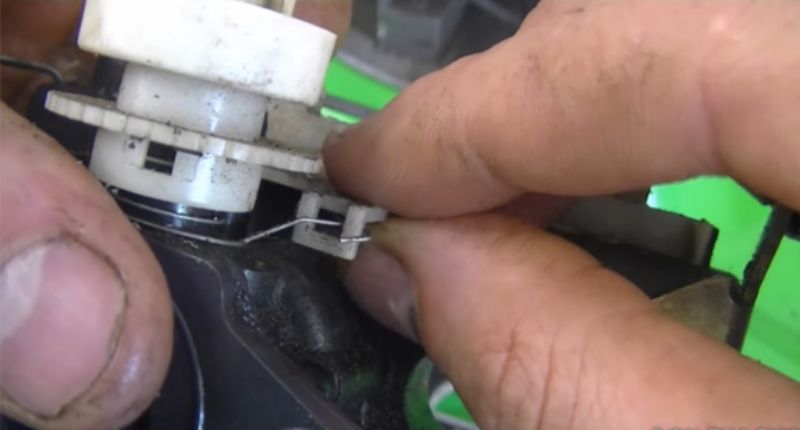
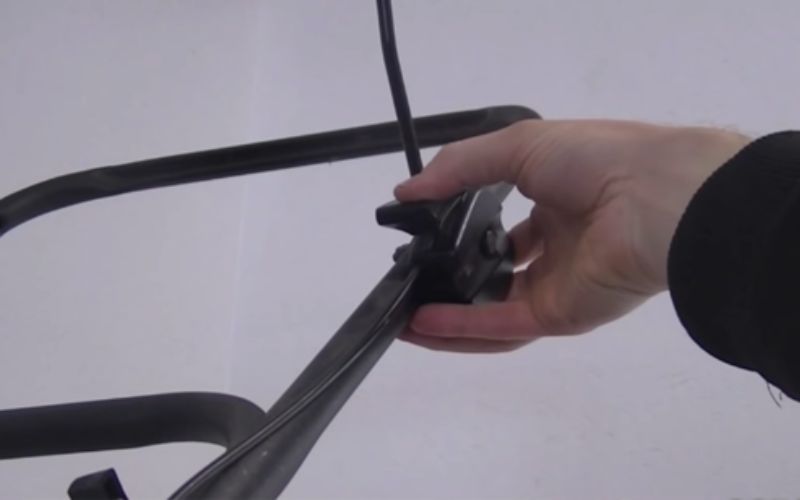
Remove the throttle cable by squeezing the tabs and pulling out there.
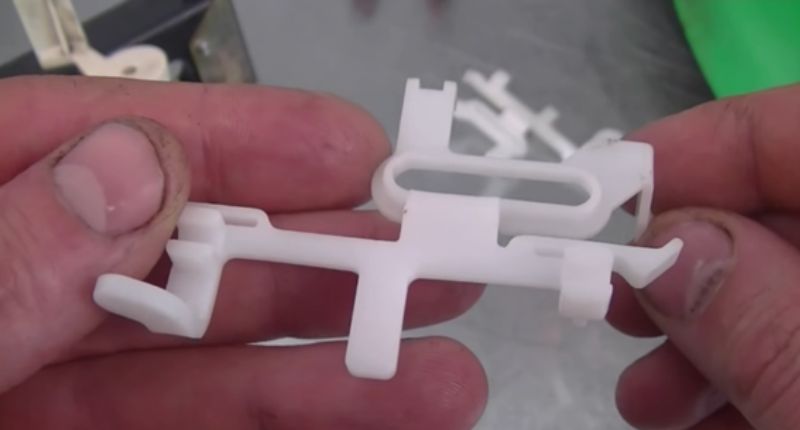
Now, this is the new part that I’m going to insert.
To reinstall this part, just follow the same procedure that you used earlier to remove it but in a reverse motion.
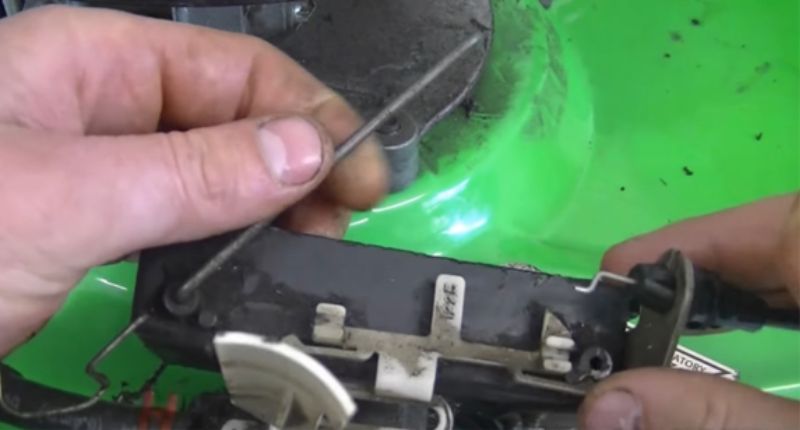
Next, grab the metal rod and bring it back over the plastic part into the hole.
The rod will clip into the grooves here on the plastic part. So just push down on the rod, and it’s going to go right.
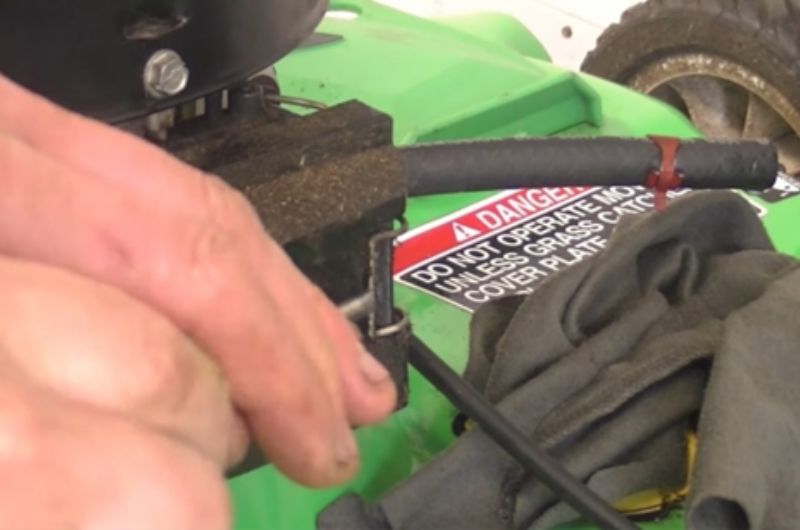
Then, make sure the lever is all the way down.

Now, grab the throttle cable and stick it in the little hole.
Then, bring it back and push in the cable until these tabs click into the metal part.
Next, grab the carburetor screws and put them in over here.
Then grab the metal plate on the gasket and put it into the screws.
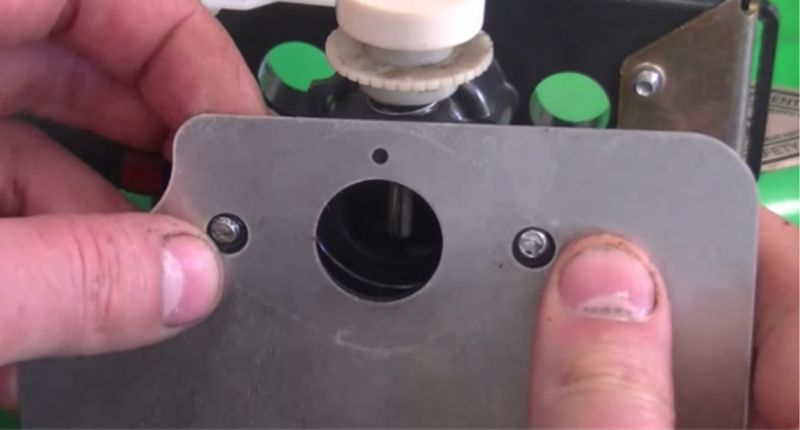
Hold the screws at the rare with your fingers and push them to the plate as well as the gasket.
Step 6- Reinstall the carburetor and test the newly inserted parts:
The carburetor and metal plate should be lined up and screwed in.

Hold the metal plate and screws on the carburetor with both your hands.
To insert this plastic flag underneath the Cawl, just tilt the carburetor, and you will see a hole under there.
So, bring it up like this and line up the screws to the hole over there.
Then, have your screwdriver ready to reach down inside and tighten up the screws.
Now, test whether the throttle cable and new inserted parts are working or not by moving the throttle lever back and forth like this. Then, log down over here to make sure that it is moving.
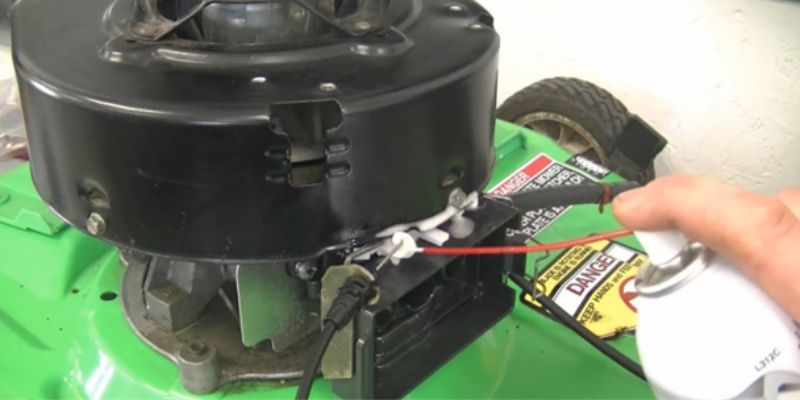
Before adding the rest of the parts, spray some liquid wrench on the plastic part to lubricate it.
After that, reinstall all the rest of the parts by following the same removal techniques but in reverse.
Warning:
Performing such troubleshooting tasks can be hazardous. Thus, always be sure that you ‘ve enough expertise and read your mower’s instructions manual before operating, or troubleshooting it.
Frequently Asked Questions
What causes a lawn mower throttle to stuck in one position?
Due to the lawn mower engine receiving an incorrect fuel mixture to start.
What are the symptoms of a Bad or failing lawn mower throttle cable?
The most common symptoms determining bad throttle cable are wrong cable adjustment, slow or no acceleration response, dirty or frayed cable connections, and defective cruise control.
What causes small engine to die after filling it with gas?
The most common causes of such problems are over-priming, sealed/snug choke, stuck valve, or gummed carburetor.
What causes my lawn mower to not run-in full throttle?
Due to clogged air filter, contaminated gas, excess or too little engine oil, blocked fuel filter, dirty or defective spark plug, plugged carburetor, dull blade, or clogged cutting deck.
What controls the push mower’s throttle?
On most push mowers the throttle handle controls the throttle cable or engine speed.
Final Verdict
Initially, the entire process might seem a little complicated, but if you follow the given instructions in today’s article, you can fix your lawn mower’s throttle problem easily.
Remember, you can only get the best result if you thoroughly follow all the instructions to troubleshoot a lawn mower won’t throttle up.
Related Posts: