How To Troubleshoot a Cub Cadet PTO That Will Not Engage
Have you ever encountered a situation where you pull the switch of your Cub Cadet several times, but PTO will not engage or works for only a few seconds at a time? If yes, you might have wondered whether it is possible to troubleshoot this PTO failure and if possible, then how to troubleshoot a Cub Cadet PTO that will not engage?
First, gather all the required tools and materials. Then, check the PTO switch and do a continuity test of your Cub Cadet PTO switch. Next, mount and remove the PTO. Lastly, if required, replace the PTO switch with a new one.
Continue reading this following article to learn how to troubleshoot a cub cadet PTO will not engage.
What Causes the Problem?
If you own a Cub Cadet mower and the PTO is not engaging, it most commonly occurs due to either the clutch not getting enough power, a worn-out clutch, or the clutch solenoid being defective.
Similar PTO malfunctioning or complete failure issues can also arise due to improper installation or user misuse.
In any circumstances, as soon you notice that your Cub Cadet PTO is failing to engage, make sure to perform a continuity test to ensure whether it’s the switch that requires to be replaced or a simple adjustment will do the job just right.
4 Steps to troubleshoot a cub cadet PTO will not engage:
Imagine you are about to start mowing or middle of mowing your lawn on a perfect sunny day.
Suddenly, you notice that your Cub Cadet stopped working. When you investigate further, you noticed that the PTO won’t engage even after several tries, and you have no idea what went wrong cause last time, it worked perfectly.
Isn’t it one of the most frustrating and discouraging moments to encounter?
Undoubtedly, it is, and when the PTO failure or malfunctioning occurs, it can cause the blades to either not engage, or fails to disengage properly after finishing the cutting job.
That’s why I am going to explain a quick, easy, and cost-effective way of troubleshooting your cub cadet PTO that fails or will not engage:
Things required to troubleshoot the cub cadet PTO will not engage:
Look at the checklist of the required tools and materials for this troubleshooting task:
| Tools | Materials |
| Decent Digital Multi Meter | Cub Cadet PTO Switch |
| Standard Mechanical Tool Box | |
| 2 Ton Chain Hoist | |
| Safety Goggles & Gloves |
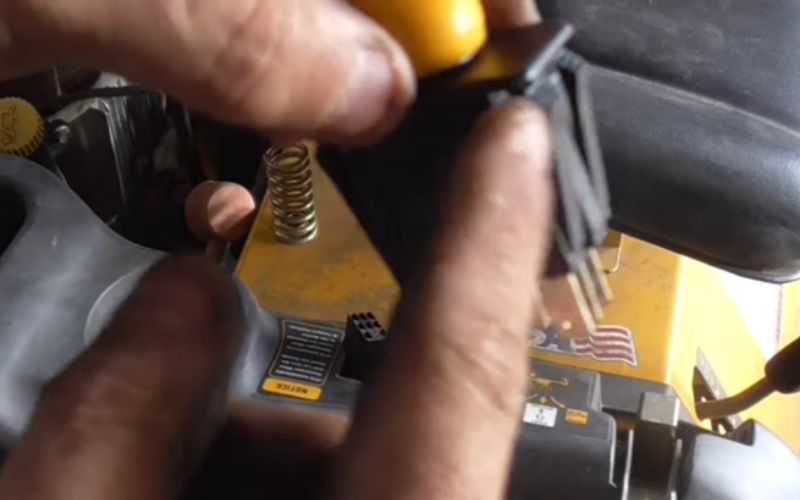
Step 1- Checking the PTO Switch:
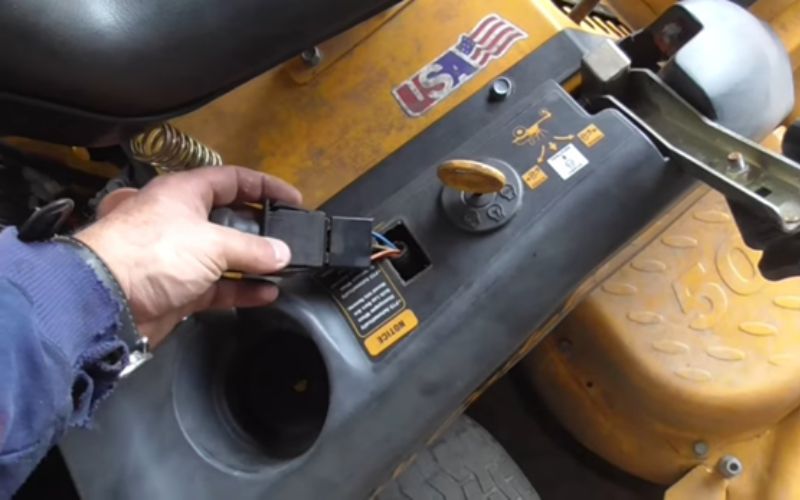
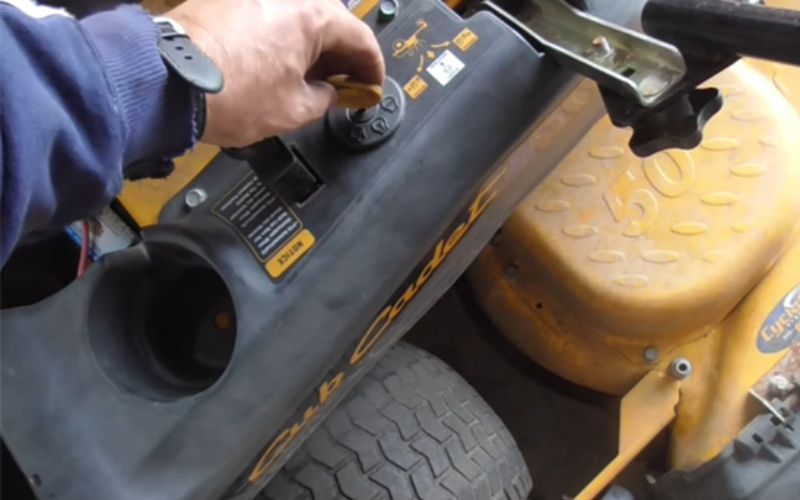
First, pull the switch out of your Cub Cadet dash.
Then, turn on the key, and you will hear a click of the fuel solenoid on the carburetor bottom.

Now, pull up your Cub Cadet PTO and see if it is responding or not.
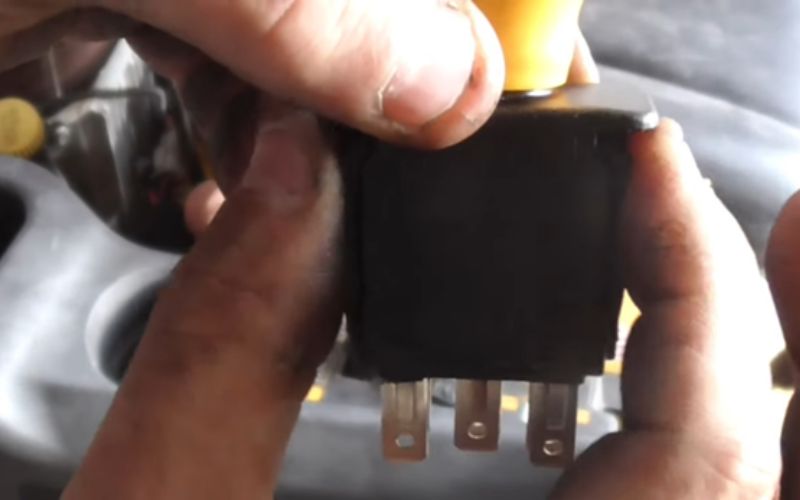
Step 2- Testing Continuity of the Cub Cadet PTO Switch:
If the PTO on your Cub Cadet is not responding, the next thing you should do is, test the switch with a Digital multimeter or voltmeter.
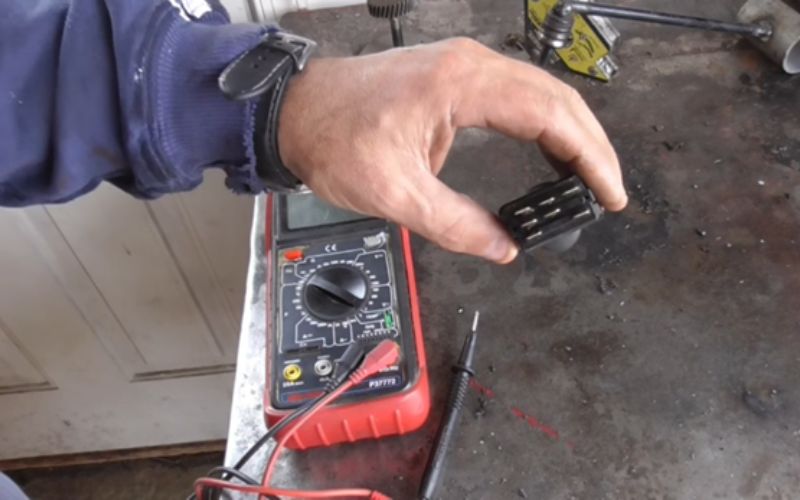
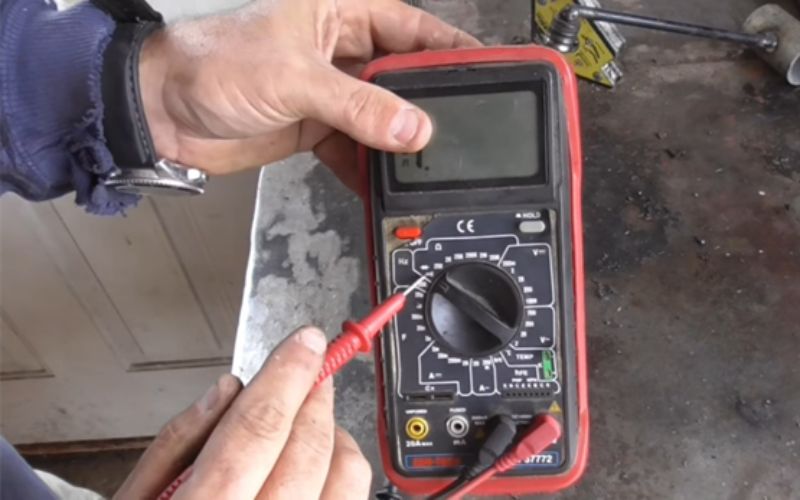
The Cub Cadet PTO switch will look as shown in the above image.
There should be continuity through the pins right through these two. And through these in some way as indicated in the picture.

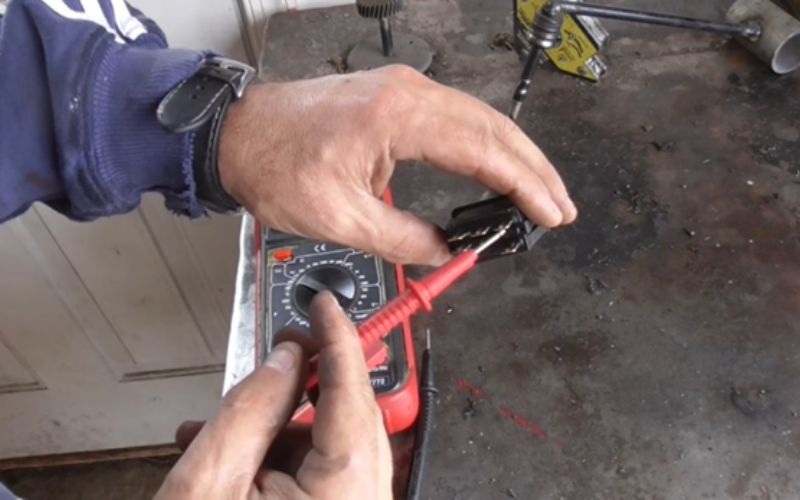
Now, turn the multi or voltmeter on first and set it to continuity.
Next, connect the switch with the meter and check whether it has continuity or not.
If it has continuity, open the switch and test again, it should not have now. If those two prongs are in good shape, try testing the middle two.

Check while keeping the switch open, and then, check again while keeping the switch close. When you close the switch, the continuity should stop.
Now, check the last ones and repeat the same testing method once again.
Step 3- Mounting & Removing the Cub Cadet PTO:
If you see no continuity through any of the particular rows, see closely towards the switch.
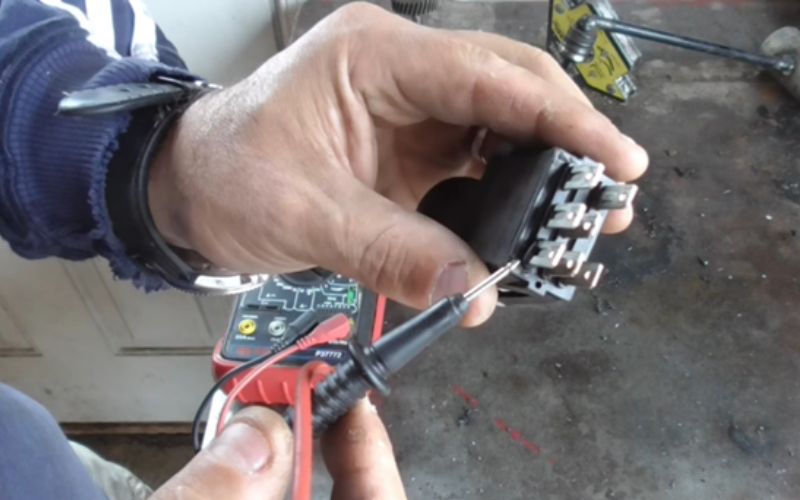
If you find that the switch has started to burn or melted a little bit as shown in the image, you can try to mount the PTO.
But make sure the PTO is good because you can have a PTO going bad, which can cause your Cub Cadet PTO switch to fail.
So, tilt your Cub Cadet mower upward with the help of a 2 Ton Chain Hoist to access the underneath of your mower more comfortably.
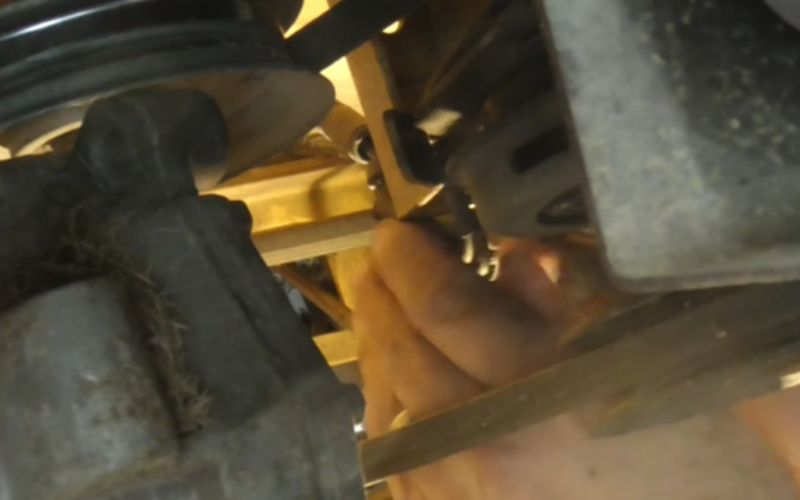
Now, go underneath your Cub Cadet and disconnect the PTO switch. Sometimes these switches can be pretty tight.
So, be careful while you try to remove them.
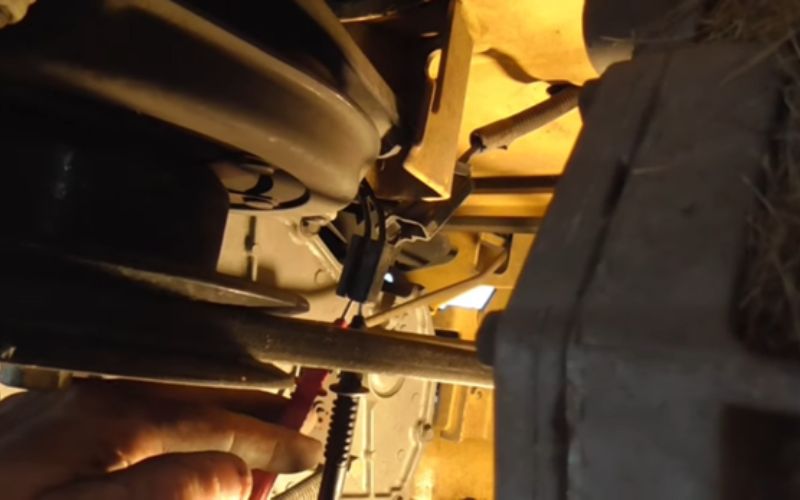
Now, clean out the terminals.
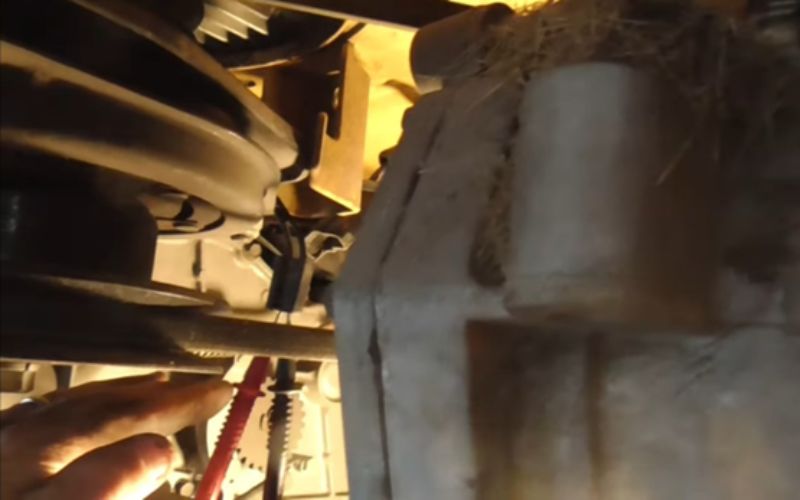
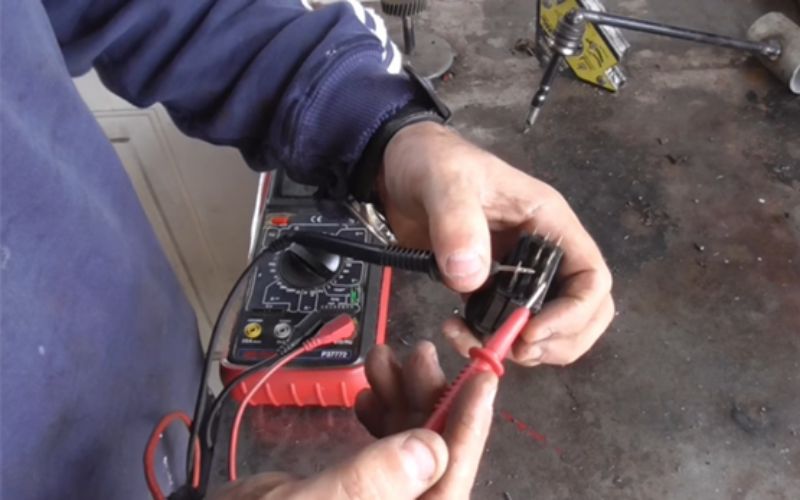
You can also see that there are two wires in there to check the amount of resistance.
First, look at your Cub cadet’s owner’s manual to know what the resistance should be like 2 to 4 Ohms.
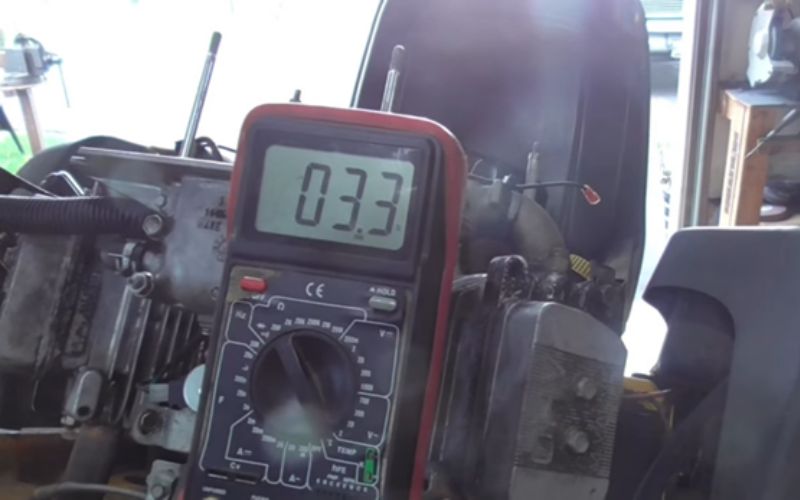
Now see this one is coming in 3.3, so it’s right in the middle of spec, and that means your Cub Cadet PTO is in good term.
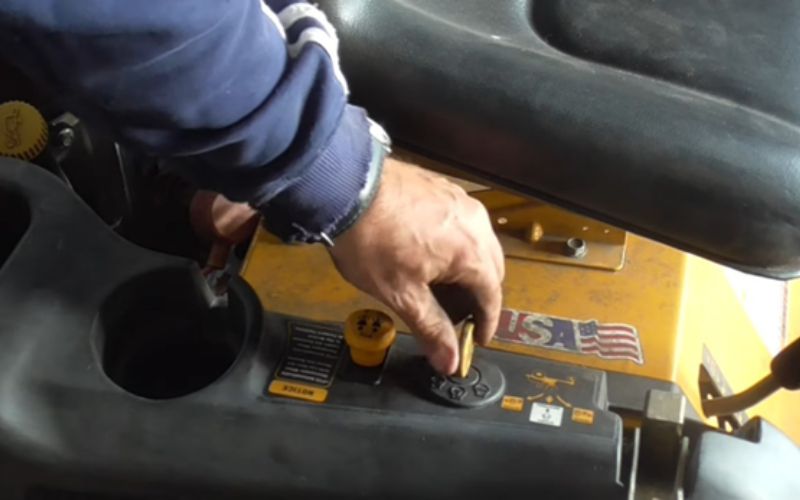
Step 4- Changing the PTO Switch:
First, buy or bring a new PTO switch to replace the older one.
Then, plug this in by pulling one of these tabs, and they snap in on the plastic.
You can put a screwdriver under these and usually pop them up from the top side as long as you are careful enough.
When you have successfully inserted the switch in place securely, do not forget to check whether it works or not.
Tips: Sometimes, the PTO switch can be from different configurations or different manufacturers, but they test straight across. So, make sure you first test the continuity before installing the new PTO switch.
To troubleshoot your Cub Cadet Mower or tractor, follow this article: How to Troubleshoot a Cub Cadet PTO . You can also watch this detailed video.
Warning:
Performing such troubleshooting tasks can be hazardous if you do not have enough expertise. Also, always read your tractor or lawn mower’s instructions manual before operating, servicing, or troubleshooting it.
Frequently Asked Questions
What causes a cub cadet PTO to not engage?
Your Cub Cadet PTO might fail to engage due to two typical reasons. One of the reasons can be incorrect installation or adjustments, and another one is aggressive use or owner’s misuse.
It can also occur due to a lack of continuity or no continuity issue of the PTO switch. So before confirming, investigate thoroughly.
Where is the PTO switch located on a Cub Cadet?
To locate the Cub Cadet PTO, first, open its engine cover. Then, remove the ignition wire from the engine assembly side’s the spark plug. Now, find the small bell housing located on the underside of your Cub Cadet’s engine and this housing is for its PTO.
How to engage PTO on Cub Cadet?
To engage your Cub Cadet mower, thrust the blade or PTO lever forward into the On position. If your mower’s PTO is in good condition, it will engage immediately with a click sound.
How tight should a Cub Cadet slip clutch be?
On average, your Cub Cadet slip clutch should be 14 thousand an inch tight.
Why won’t my Cub Cadet blades not engage?
The main reason your Cub Cadet blades won’t engage is either a weakly charged battery or a dead internal battery.
Final Verdict
Cub Cadet lawn mower or tractor users often complain that their Cub Cadet’s PTO will not engage even after several tries, and if the PTO engages, it won’t last for long.
This is not a rare or particular issue that only occurs while using Cub Cadet mowers and can arise with any other brand’s mower or lawn tractor. But there’s an easy-to-do technique to get rid of this problem, and I have already explained it in today’s article.
Remember, you can only get the best result if you thoroughly follow all the instructions to troubleshoot a Cub Cadet PTO will not engage.
Related Posts: